The eighth-grade history fair happens tomorrow. The way this works is that each student dresses up in character as a prominent American (in Utah, eighth graders study US history), and makes a poster with several facts about their subject, but without the individual's name. Parents and other students then tour around and talk to the kids and fill out a form with their best guesses as to whom each of the historical personages is. The person who gets the most right wins some kind of prize.
The Daughter decided she wants to be Maria Tallchief. Well, first, she said she wanted to be Misty Copeland, but I suggested she choose someone a little more... historical. Lest you think that Grownup Bunhead's influence leads the child only to think of ballet-related figures, let me just tell you that last time (in fifth grade), she chose to be Jane Addams.
Also, this has been the spring of her ballet awakening. She is finally on pointe, and taking lessons every day with hopes of getting into the junior company in the fall.
So, what does a reasonable mother do when her child decides to be Maria Tallchief for history fair?
I don't know. I am not that person.
A quick search of Google Images led to the decision to make MT's Odette costume. How hard could that be?
 |
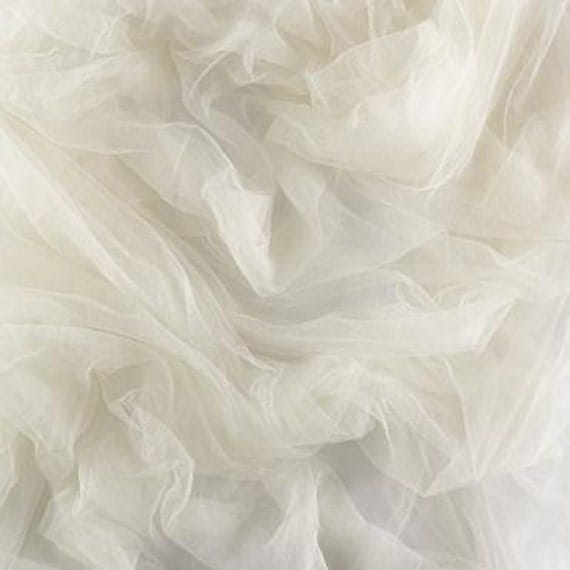
| Lots and lots of tulle |
So it was off to the sewing store for about 18 yards (a conservative amount, in tutuland) of stiff tulle (unfortunately, real tutu netting is not available at JoAnn), some satin, and white feathers. As I was paying for our purchases, I quickly looked up how much a white practice tutu would cost on Discount Dance Supply's website. The answer was gratifying: about $55-$65, and that's before any additional frou frou that you want to add. Our cost came to about $30, with tulle 50% off at 75 cents a yard.
Following instructions from the fantastic "tutu-torial" at the blog Never a Dull Moment (http://sharpsewingny.blogspot.com/p/tutu-torial.html), and also inspecting many, many other tutu-construction blogs, pinterests, and discussion threads, we began by drafting a paper pattern for a pair of, well, satin underpants. In the classical language of tutu construction, these drawers are called caleçons de precaution. Underpants of precaution. Hahaha!
 |
| caleçons de precaution with butt ruffles! |

This is not my pattern, but it basically looks like it (except that we went with only 8 layers of tulle, since I am not completely insane). Also, as Daughter said she did not want "butt ruffles" we dispensed with what are labeled ruffles 1, 2, and 3 on the above pattern.
Precautionary unders cut out and fitted to the meager hams of Daughter, we marked the sewing lines. And then, dear reader, the work really began.
We cut EIGHT strips six yards long in graduated widths (12", 11", 10", 9", 8", 7", 5", 3") out of the tulle. Sadly, our upper two layers we chose to make out of a softer tule, which as you will see merely looks sort of limp and wrinkly. Use stiff tulle, my friends.
| dagged edge |
.jpg) |
| Pants with first two layers of tulle |
.jpg) |
| Five layers and counting |
As the layers went on, something really cool started to happen. The underside of the tutu started to look almost exactly like it was supposed to look, like all those pix on the internet, serried layers of fluffy loveliness, like a freshly-opened rose. It was seriously, seriously poofy.
Once we had all the layers attached (and we did not make it to the 3" layer, because we simply ran out of pants to sew it onto), we checked the fit and attached the basque. What is a basque, you ask?
 |
| Basques in basques |
.jpg) |
| Basque attached to skirt |
With the basque in place, we then adjusted the fit at the waist with a little elastic and some hooks and eyes. This was actually one of the more difficult steps, for some reason. All that tulle was bristling about, and getting a smooth fit over the hips was a challenge. Also, somehow I managed to sew the bra-extender hook-and-eye unit that we purchased on in such a manner that it would not hook or eye, so that had to be carefully removed and reattached (more colorful language on my part while Daughter talked on the phone with her bestie about when they were going to get together to watch (rewatch) "The End of Time").
.jpg) |
| The underpinnings |
At this stage Daughter also tacked the layers of tulle together so that her tutu didn't look like a giant powder puff and had more of a flat-pancake shape. We're still working on this -- most "real" tutus that have that classic Russian shape have a hoop discreetly hidden in about layer 4, and also have lots and lots more layers, plus butt and ahem, shall we say "front"? ruffles. Ours is a little droopier, due to lack of layers and somewhat overenthusiastic tacking.
The final stage was fun. We decided not to make a bodice at this point, but instead to have her wear a white leotard that has been adorned with fluffy boa loops over the shoulders and a fake-bodice front in the shape of a V. This is not because we are lazy. Or, yes, it is. Or because we ran out of time.
.jpg) |
| Ta da! |
 |
| Taylor Swift with actual ballerinas from Ballet West |
The ironic thing about our tutu adventure is that when we went to the ballet on Saturday, the program was Balanchine's Square Dance, Fonte's Almost Tango, and Forsythe's In the Middle, Somewhat Elevated. Not. One. Single. Tutu.
And that was kind of nice, too.

Hi, Hilary Sharp here. Thanks for mentioning my blog in your post. I always wonder if anyone reads it. Your first effort looks pretty good, but if I might share a few tips (I may adjust the tututorial a bit too). If you are in Australia, the netting from Spotlight is very good other wise you can use JoAnnes petticoat net, but only if you do not dye it. You can make a very respectable tutu out of tulle but you need to use a lot more and pleat it very tightly. If you plan to make more tutus I cannot recommend Claudia Folts' book enough, yes it is a bit pricey but It walks you through all the ins and outs of how to get the pants and basque to fit properly (you do that before you sew anything onto it!), how to cut the layers (railroad cutting like you did is not easiest way to do it, certainly not for a beginner). Tutu.com runs tutu school in different locations as does Tutus that dance and both sell patterns and instructions. Tutu.com sell whole kits which are very good and worth the money. Otherwise feel free to contact me as I do make complete tutus and I am reasonably priced. You may now understand why a tutu costs as much as it does, not so much due to the materials but due to the hand labor involved. Giving you tutu a good steam would also help it have a better shape. Good luck
ReplyDelete